Attaching & Seizing Deadeyes on a Model Ship
- Updated on:
- Written by Leon Griffiths
Attaching Deadeyes To a Wooden Model Ship Kit Can Pose a Challenge. Here Australian Master Modeler Lean Griffiths Shows Us His Guide To Attaching Model Ship Deadeyes.
Step 1
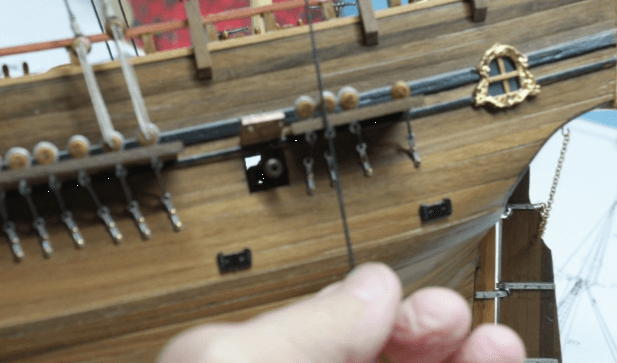
A piece of dowel is positioned at the correct angle in the mast hole and rigging cord is attached to the top of this dowel. The cord is lined up with the deadeye and strap assemblies, this keeps all components in correct alignment.
Step 2
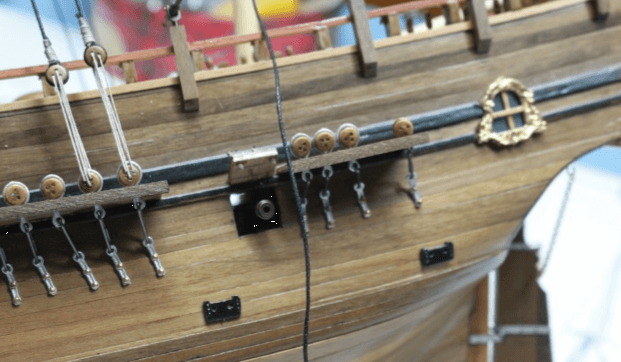
You can see the back stays on the middle channel are straight and aligned.
Step 3
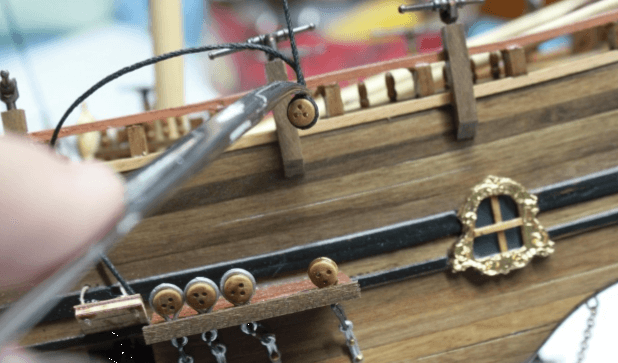
This photo shows the suggested length of the seizing to be used. Note the triangle pattern of the holes to be reeved.
Step 4
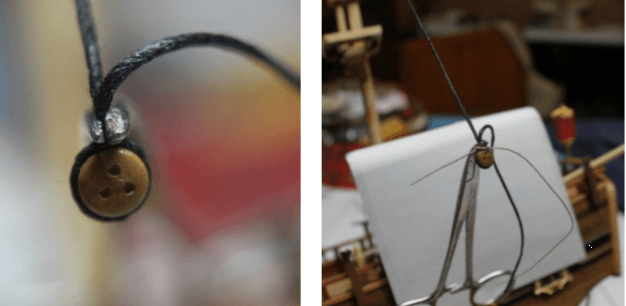
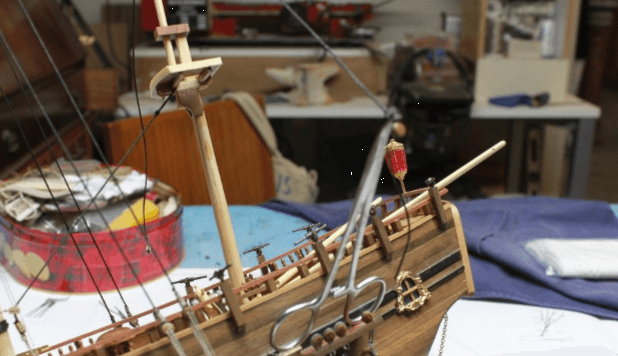
To aid in holding everything together, use a pair of forceps as shown. Correctly line up the two triangle patterns of the deadeye, as shown below. The attaching deadeye is ready for a half granny to be added between the forceps and the deadeye.
Step 5
The forceps are rested in the channel for convenience and it makes it easy to apply the half granny.
Step 6
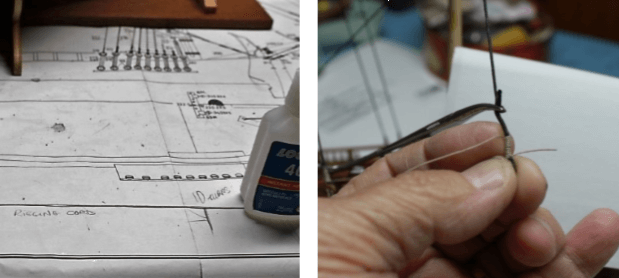
Once you have worked out the length of rigging cord you need for your half granny and ten turns of the cord back up the shroud plus a bit, mark the length down so you will have the same amount of cord each time.
Step 7
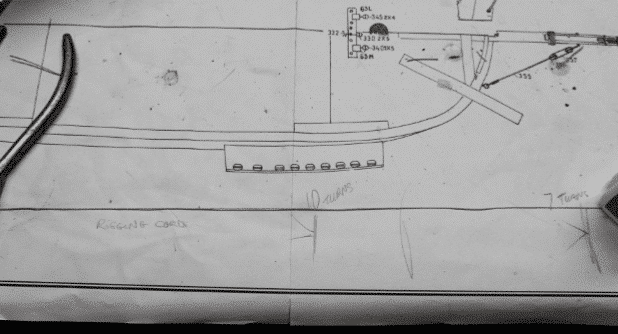
This shows the overall distance for the first lanyard, from the start to the ten turns back up the shroud. It also shows the correct length for the seizing of the deadeyes and seven turns back up the shroud.
Step 8
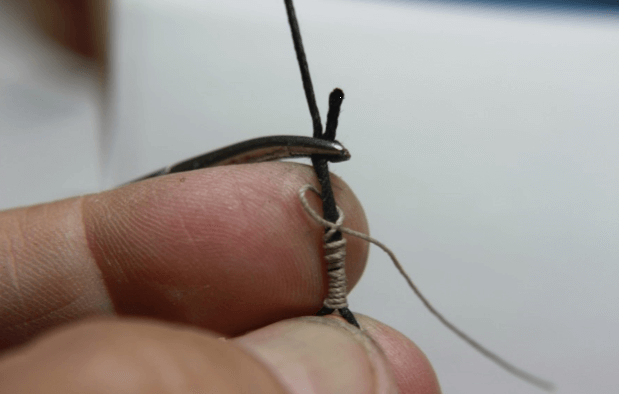
Try to get the ten turns as neat as possible. Finish the roving with a simple slip knot.
Step 9
Snip off the top and bottom pieces of cord.
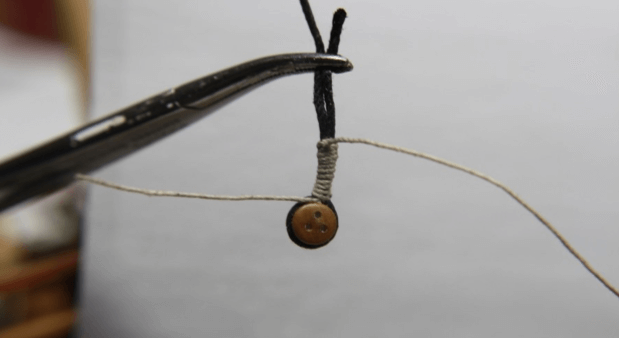
Step 10
Using a No 11 blade, dab a small amount of thin super glue on the start and finish of the reeving.
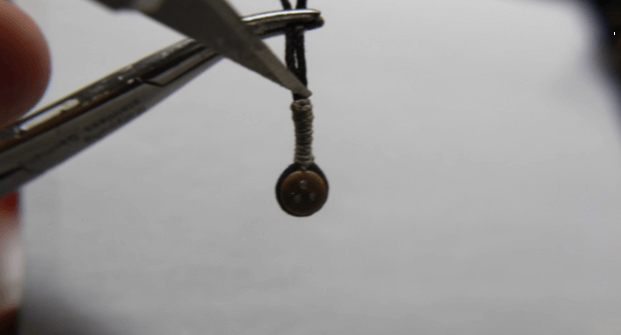
Step 11
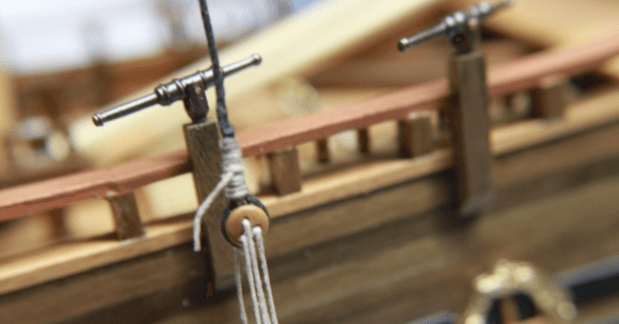
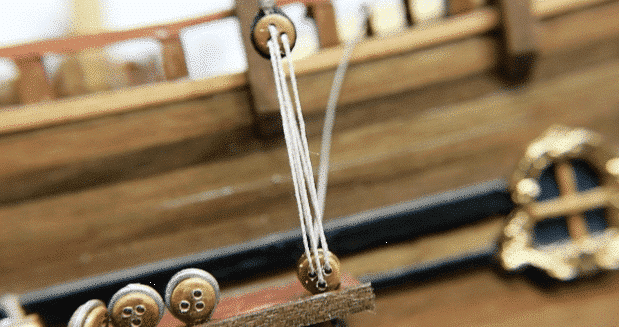
A lanyard is threaded through the holes in the deadeyes in the known sequence, and by this means a purchase is created to set up the shroud taut.
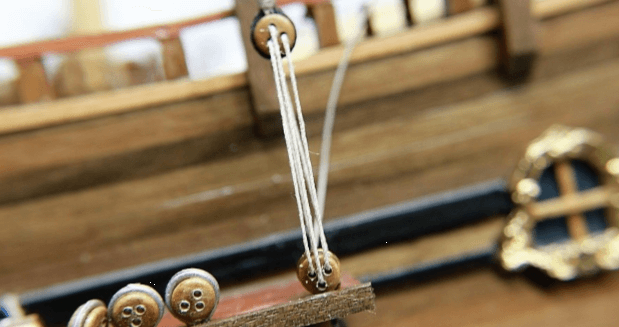
Step 12
Five to seven turns of the rigging are required. All deadeyes for upper and lower shrouds are tied this way.
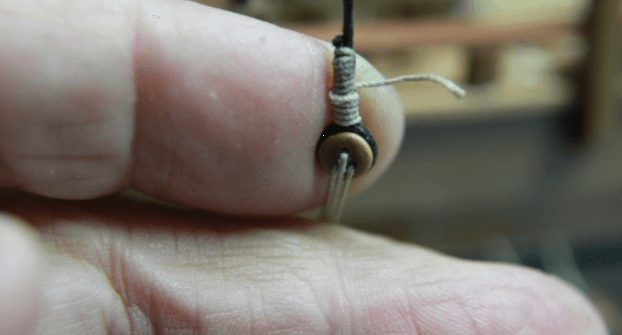
Step 13
With the remaining cord, bind this back up the shroud seven turns and loop it off the same as before.
Learn The Art Of Building A Model Ship
Get started in wooden model ship building today


