Weathering Your Model Ship
- Updated on:
- Written by Gary Renshaw
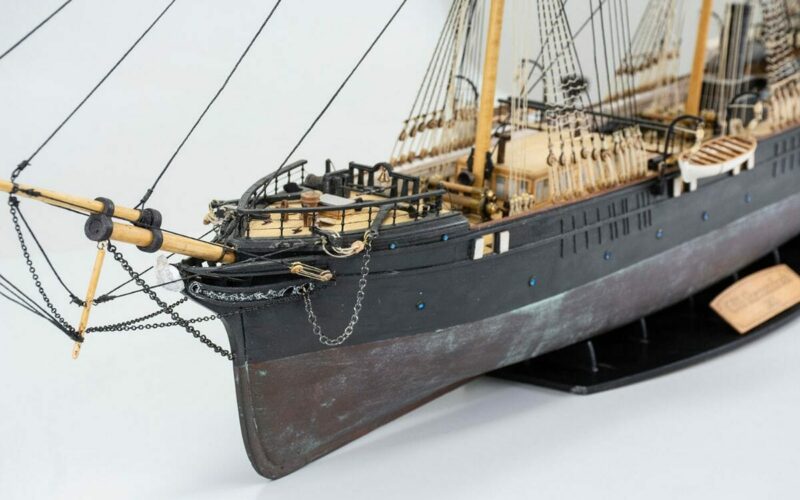
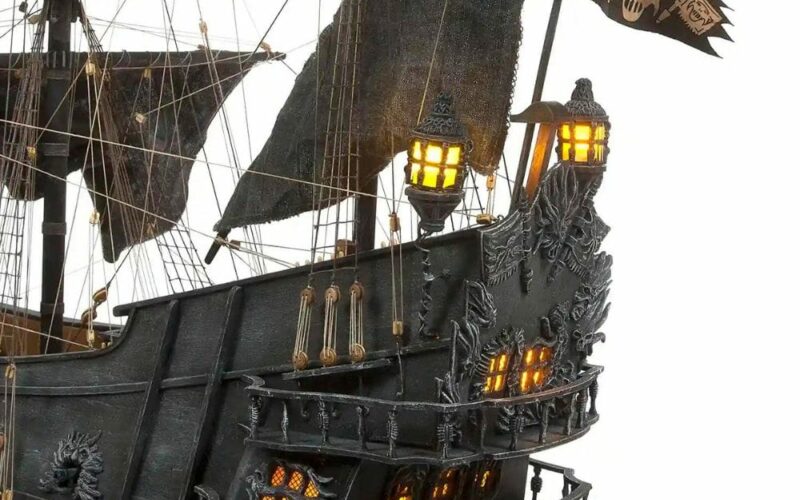
Weathering your model ship is the final touch that transforms a pristine replica into a lifelike miniature with a rich, nautical history. This crucial step in the model-building process adds depth, realism, and character to your creation, mimicking the effects of sun, salt, wind, and water on a vessel that’s braved the high seas.
Whether you’re looking to depict a battle-worn warship, a time-tested merchant vessel, or a weather-beaten fishing boat, mastering the art of weathering will elevate your model ship from a showpiece to a storyteller.
In this guide, we’ll explore various techniques and tips to help you achieve authentic weathering effects, bringing your model ship to life with the patina of adventure.
Why Weather Your Model Ship?
Weathering adds a layer of realism and historical context to your model. A pristine ship might look impressive, but it lacks the story and character of a vessel that has seen years of service. Weathering can:
- Enhance the model’s scale appearance
- Add depth and interest to the overall look
- Create a sense of history and narrative
- Highlight intricate details that might be lost on a uniformly painted model
Gathering necessary tools and materials
Before you begin weathering, ensure you have the following tools and materials. This is everything you need in weathering kits:
- Various brushes (fine detail brushes, dry brushes, stippling brushes)
- Weathering pigments or powders
- Acrylic paints in earth tones and rust colours
- Weathering solutions (e.g., rust effects, salt effects)
- Fine-grit sandpaper or sanding sticks
- Cotton swabs and soft cloths
- A palette for mixing colours
- Water and paint thinner
- Magnifying glass or optivisor for detailed work
Protecting areas that shouldn’t be weathered
Not every part of your ship should show the same level of weathering. To protect certain areas:
- Use masking tape or liquid mask on areas you want to keep clean
- Apply a clear varnish to protect detailed paintwork or decals
- Use cotton swabs to quickly remove excess weathering from protected areas

Basic Weathering Techniques
Dry brushing
Dry brushing is a technique where you use a brush with very little paint to highlight raised surfaces and add texture.
- Choose a colour slightly lighter than your base colour
- Remove most of the paint from your brush on a paper towel
- Lightly brush over raised surfaces, letting the brush skip over recessed areas
- Build up layers gradually for a natural look
This technique is excellent for bringing out wood grain on decks, for example, and highlighting details on the hull.
Washes
Washes involve using thin, watery paint to add depth to recessed areas and create subtle light and colour variations.
- Mix your chosen paint colour with water or thinner (ratio of about 1:10)
- Apply the wash over the area you want to weather
- Let it settle into crevices and details
- Wipe off excess from raised surfaces with a damp cloth
Washes are particularly effective for adding grime to deck planking and creating shadow effects in recessed areas.
Sponge painting
Sponge painting creates a mottled, textured effect that’s great for simulating rust or paint chipping.
- Break a small piece from a natural sponge or use a specialty sponge
- Dip the sponge in paint, then dab most of it off on a paper towel
- Lightly dab the sponge on your model, building up layers gradually
- Vary the pressure and direction for a more natural look
This technique works well for adding rust to metal fittings or creating a salt-spray effect on the hull.
Stippling
Stippling involves using the tip of a brush to create a textured, dotted effect.
- Choose a brush with firm bristles
- Load it with a small amount of paint
- Tap the brush perpendicularly onto the surface of your model
- Build up layers to create depth and variation
Stippling is excellent for creating a worn paint effect or adding texture to large, flat surfaces.
Weathering Specific Areas of Model Ships
Hull and planking
The hull often shows the most weathering:
- Add rust streaks from metal fittings
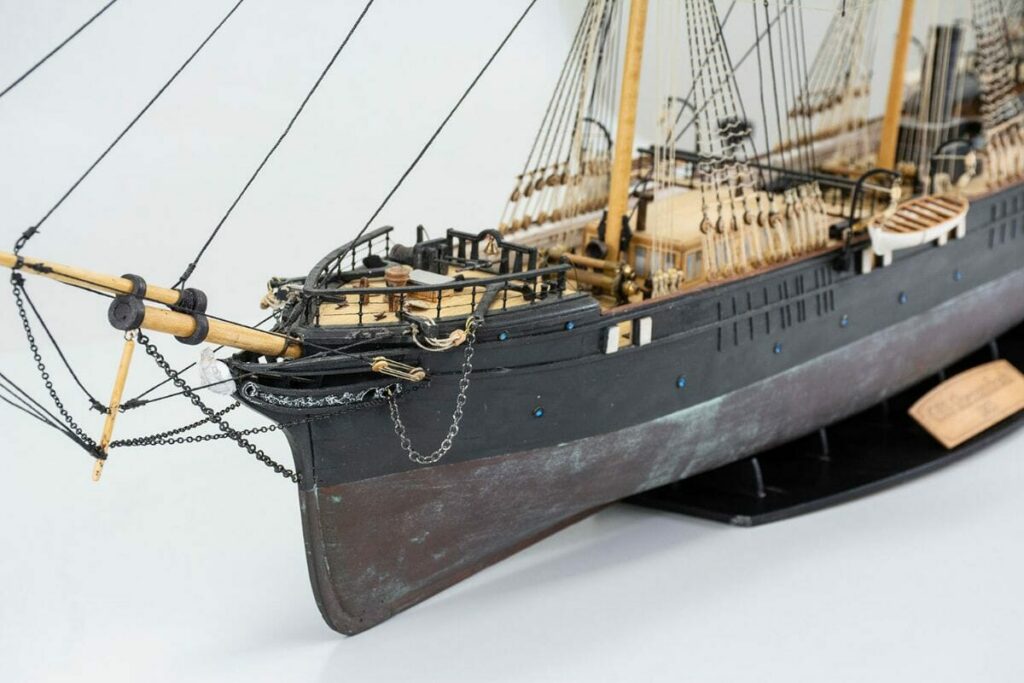
- Create a waterline effect with algae and grime
- Simulate sun-bleached wood above the waterline
- Add subtle colour variations to represent replaced planks
Deck and superstructures
Decks see a lot of traffic and exposure:
- Enhance wood grain on the deck
- Add subtle dirt accumulation in corners and along the edges
- Create wear patterns where the crew would frequently walk
- Weather doors and hatches to show frequent use
Metal parts (cannons, anchors, etc.)
Metal parts often show the most dramatic weathering:
- Apply rust effects, especially in recessed areas
- Create verdigris (green corrosion) on brass or copper fittings
- Dry brush with metallic paint to simulate worn edges
Sails and rigging
Fabric and rope elements require different weathering approaches:
- Use washes to darken edges and create a used look on sails
- Dry brush lighter colours on ropes to simulate fraying
- Add subtle grey tones to represent mildew or salt accumulation

Adding Environmental Effects
Water stains and tide marks
These effects can add a lot of character:
- Create subtle, vertical streaks on the hull using thin washes
- Add a slight colour change at the waterline to represent tide marks
- Use salt weathering techniques to create crusty salt deposits
Sun bleaching
Sun exposure can dramatically affect a ship’s appearance:
- Lighten exposed horizontal surfaces with dry brushing
- Create colour contrast between sun-exposed areas and shaded regions
- Pay attention to the ship’s typical orientation to the sun
Soot and smoke effects
For steam-powered ships or those with galleys:
- Use black and grey pigments around smokestacks
- Create subtle streaks on sails or upper parts of masts
- Add darker tones around cooking areas or gun ports
Sealing and Protecting Your Weathering Work
Sealing your work protects it and enhances the overall effect:
- Prevents pigments and loose material from rubbing off
- Can enhance the appearance of certain effects (e.g., wet-look for algae)
- Provides an extra layer of protection for your model
Choosing the right sealant
Different sealants can produce different effects:
- Matte sealants are great for most weathering effects
- Satin or semi-gloss can be used for areas that would retain some shine
- Gloss sealants can be used sparingly for wet effects or glass surfaces
Application techniques
Proper application is crucial:
- Apply sealant in thin, even coats
- Use an airbrush if possible for the most even application
- Allow each coat to dry fully before applying the next
Ready to Build Your Own Model Ship?
Weathering your model ship is a rewarding process that brings your creation to life. It requires patience, practice, and a good eye for detail, but the results are well worth the effort. Remember, there’s no single “right” way to weather a model – let your research, imagination, and artistic sensibility guide you.
As you apply these techniques, you’ll develop your own style and preferences. Don’t be afraid to experiment, and remember that even “mistakes” can sometimes lead to interesting and realistic effects.
With each model you weather, you’ll improve your skills and expand your techniques. And if you still have questions, contact our friendly team of expert modelers!

Learn The Art Of Building A Model Ship
Get started in wooden model ship building today


